Features
BN Do-It-Yourself: Personalize Your Baby’s Room! Tinuke Odunfa Has These Tips
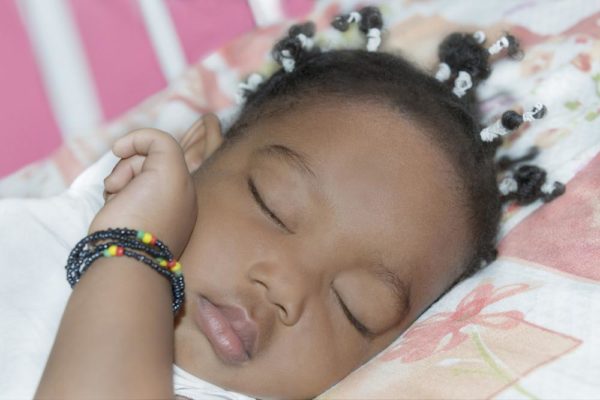 It’s baby season! Everyone around me seems to have babies or is having a baby. If they are not having babies, they are getting married. So ‘tis the perfect time for a baby room décor DIY!.
When people think ‘baby room’ they tend to visualize a bright mixture of colors. Baby rooms can easily be over done with too much color, toys, wall hangings and all kinds of randomness.
This is the best time to embrace the “less is more” motto. You are likely going to need more storage and work surfaces than clogging your space with that cute piece of furniture that has no function or takes up too much space.
Why don’t you try gender-neutral colors? They tend to look more effortless and classy than a ‘jambalaya’ of primary colors. Try beige & white with one or two accent colors (yellow, olive green, blue or orange). Look it up, it’s truly divine.
Also, if you ever decide to convert your baby room into a guest room, it will need little or no work.
When you get your color combination right, you can try this easy DIY for your baby name décor.
The materials you will need for this process are:
1. Gift wrapping paper (2 kinds with similar colors)
2. Cardboard boxes
3. Foam board (a.k.a foamcore) you can get this at the art supply store. If you can’t get any, use same cardboard boxes as above.
4. Double-sided tape
5. Fishing line (or beading string)
6. Printed text
Tools you will need:
1. Cutting mat (that’s the green thing you see in almost all the pictures) You should never cut using a box-cutter directly on your tables.
2. Box-cutter
3. Steel ruler
Steps:
1. Cut out squares for as many letters of the baby name you have. I used the name ‘AYO’ so I cut out 3 eight-inch squares.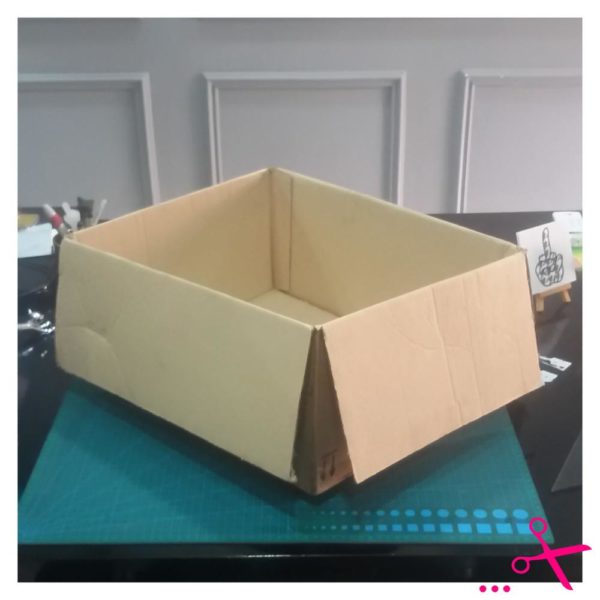
2. Cut out enough wrapping paper to wrap each square. Use wrapping paper with 2 different designs but similar colors to make it interesting.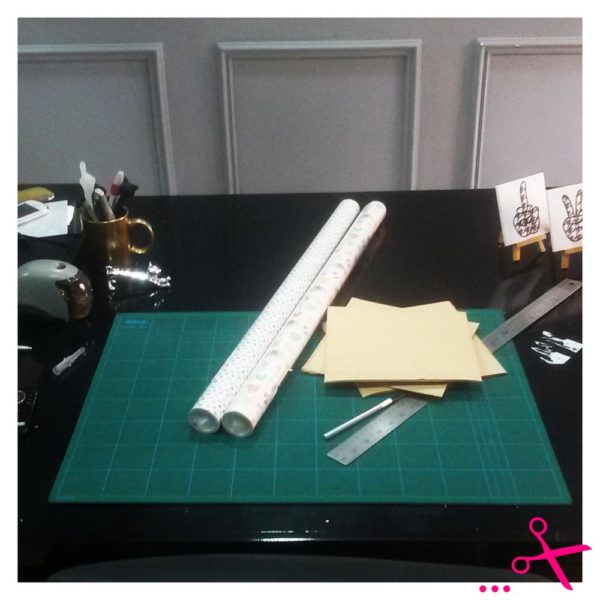
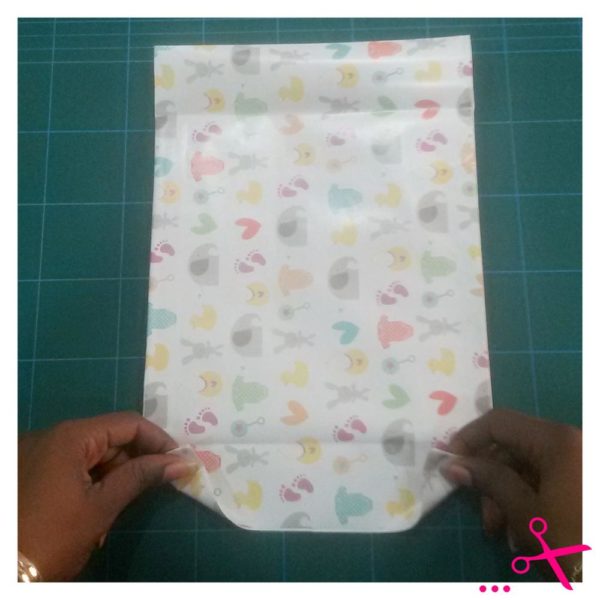
3. Wrap the cardboard squares with the wrapping paper like gifts, keeping all seams on the back. This way the front stays neat.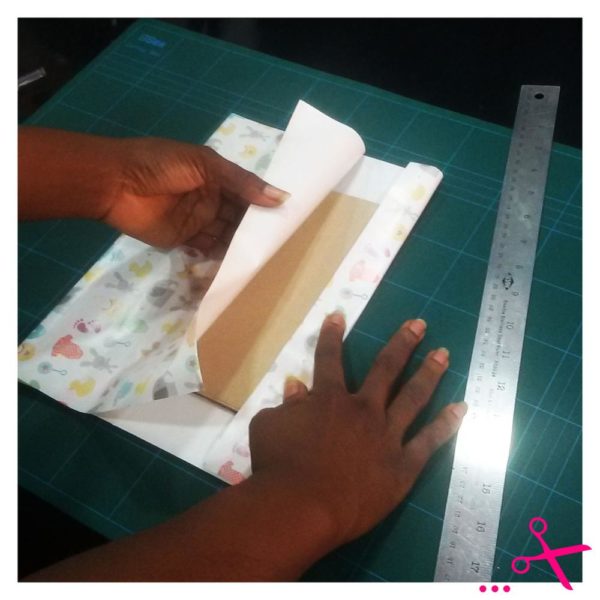
4. Print out the letters with your computer. Using a word document write the name at font size of about 500 point. Font color should be white with a black outline ‘text effect’.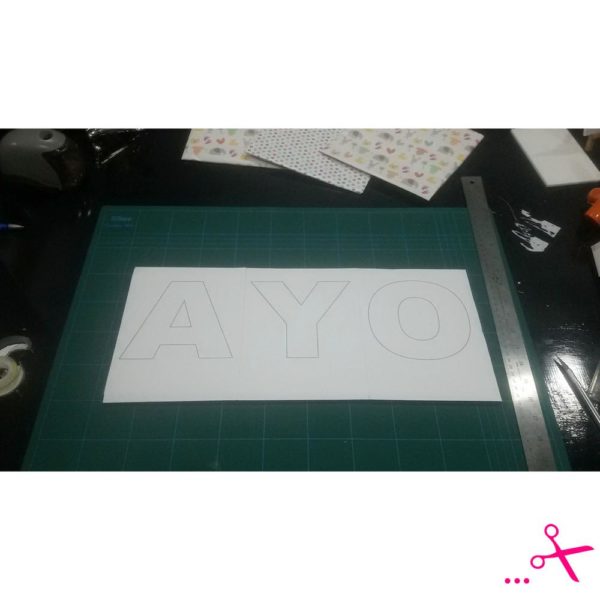
5. Cut down the sheets of paper to smaller, manageable sizes. Stick double sided tape on the reverse of the sheet at the edges of the letters.
6. Stick these onto the foam board and cut out the letters carefully and slowly with a box cutter. Use a new razor for more precise edges.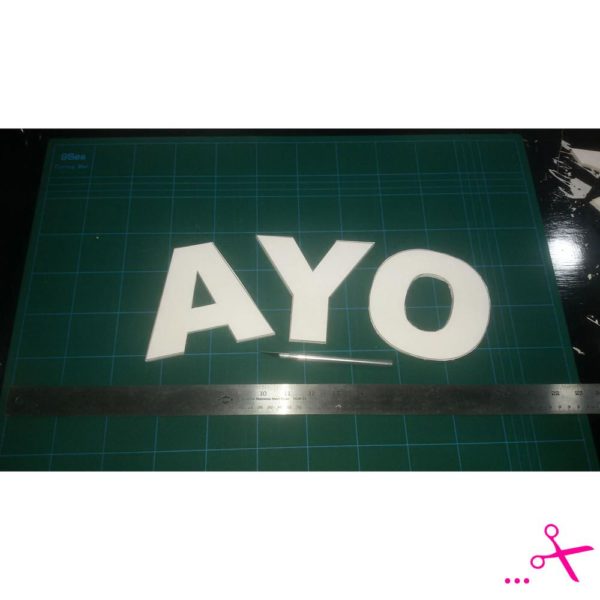
7. When you have your letters cut out, mount them onto the gift-wrapped boards. Try to center them so it is neat.
8. To hang them on your wall, cut pieces of fishing line an inch longer than your boards. Tape the tips across the back of the boards.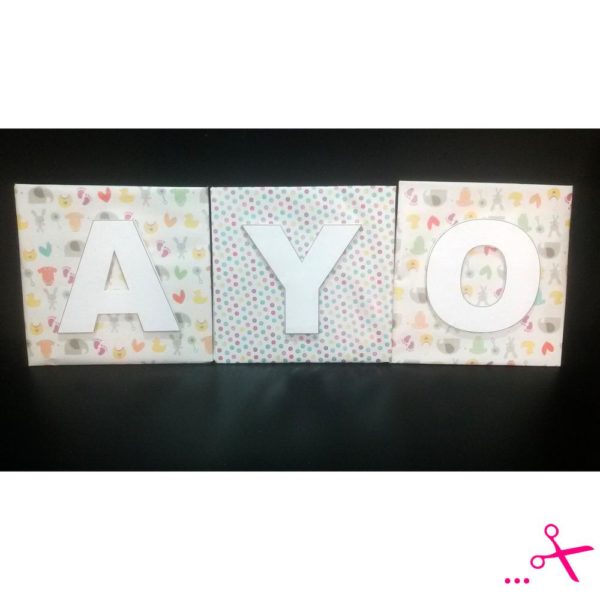
Now you are ready to hang your personalized baby name on the wall in your baby’s room.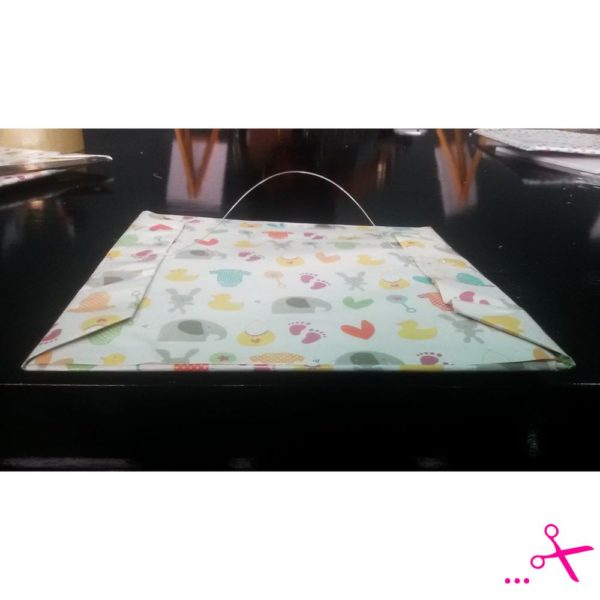
Please share pictures of your completed projects with me when you attempt any of my DIYs. Tag me on Instagram @lagosinteriordesigner and Twitter @tinuke and or hashtag your pictures #liDIYers
Also, please make suggestions for DIY projects that you would like to see. Someone may get an awesome, cheap and cheerful solution for their home in the process.

Photo Credit: Dreamstime | DiversityStudio1


