Features
#BNFroFriday: How to Prepare Your Hair for Relaxing or Texlaxing by Lade Salami
Relaxers have received a lot of bad press in recent years as evidenced by the decline in their sale. This may be because many ladies attribute the problems they have with their hair such as breakage and damage to their use of relaxers.
Although relaxers contain Hydroxide which does breakdown some of our hairs structure, the use of them does not automatically result in severe damage and breakage. It is the incorrect use and abuse of relaxers that causes hair loss. There are countless women across social media that have shown that relaxed and texlaxed can and does thrive if correct hair care practices are followed before, during and in the weeks after the use of relaxers.
For ladies who chose to relax or texlax their hair, this article gives you 4 tips to help you ensure that your hair is correctly prepared for the relaxing process.
1) Be Aware that Preparation should Begin One Week Before your Relaxer Day.
Many ladies believe that preparing hair for relaxing begins when they arrive at the salon. Correct preparation for hair relaxing however, goes beyond parting the hair into four sections and applying pomade to your scalp and ears to prevent burns. The way hair is managed the final week before relaxing has a significant impact on the outcome of the procedure and on the health and strength of your hair thereafter.
The first step in correctly preparing hair for relaxing is to remove any hair extensions such as braids or a weave one week or more before relaxer day. Never remove hair extensions on the day or a day or two before you plan to relax. Your hair will be too weak to withstand the process and your scalp will would have been irritated by the removal process.
A one week interval between the removal of extensions and relaxing will give your scalp adequate time to recuperate from stress caused by wearing and removing extensions.
2) Make Sure your Hair is Clean
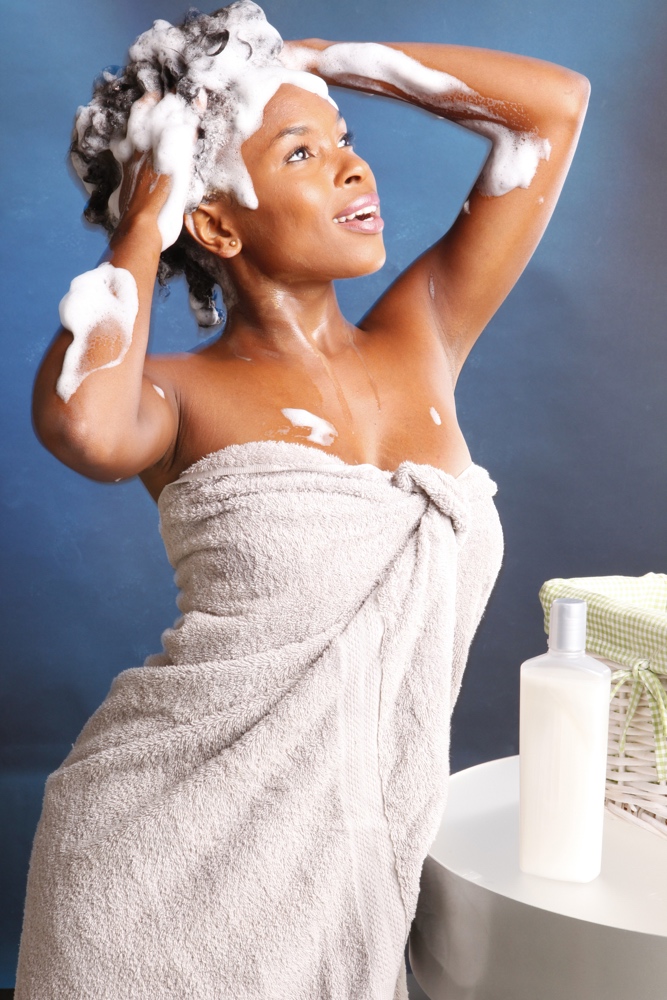
A myth many ladies believe is that their hair and scalp should be dirty before relaxing because this will prevent relaxer burns. The correct procedure however is to wash your hair about one week before relaxer day with a clarifying shampoo, i.e, a shampoo that contains Sulfates.
Dirty hair tends to have a buildup of product residue, oils and dirt which may prevent the relaxer from working properly. This can leave the new growth under processed thereby requiring a further corrective relaxer a few weeks later. Frequent relaxer use should be avoided as it can lead to damage. It is better to achieve the desired straightness at the first attempt rather than repeating the process with a corrective relaxer.
The clarifying shampoo will remove any stubborn product residue and oil from the hair and scalp helping to ensure the relaxer works as intended. Do not wash your hair a day or two before relaxing. The final wash before relaxer day should be one week prior. This will give your scalp adequate time to recuperate and produce Sebum, our scalps natural oil.
3) Boost the Strength of your Hair with a Protein Treatment or Deep Conditioner
This is the most important step in preparing hair for relaxing. This step can either make or break your hair, no pun intended. After washing your hair with a clarifying shampoo, you should deep condition or treat your hair using a Protein Conditioner or Reconstructor.
Protein Conditioners and treatments temporarily fill gaps or holes in our hairs fiber or structure making it feel stronger. The relaxing procedure breaks down some of our hairs natural protein bonds and this affects its strength. Hair that is lacking in protein strength will not be able to withstand the relaxer process. It may be become unduly weakened and begin to break in the weeks following the relaxer process.
Hair that has been deep conditioned or treated with protein a week before relaxing will be stronger and better able to resist breakage than hair that was protein deficient at the time it was relaxed.
4) Avoid Agitating and Irritating your Scalp.
It is widely known that the scalp should not be scratched as relaxer day approaches to prevent relaxer burns. There are however many other things which can agitate or irritate the scalp and which should be avoided in the final week before relaxing such as:
- Tight hair styles that require pulling and tugging on the hair and scalp when they are being created. This will agitate the scalp.
- Excessive combing or use of harsh brushes which can scratch the scalp and make it feel tender
- Sweating that may dry on the scalp and lead to irritation and itching
- Use of products such as essential oils (Rosemary, Peppermint, Tea Tree, etc) or products that make your scalp feel tingly such as Hair Fertilizer or Sulfur 8 as these can increase the scalps sensitivity. You can resume the use of these after your hair has been relaxed.
To avoid all the above, after washing and conditioning your hair, apply a moisturising leave in conditioner and dry your hair gently. Thereafter it should be put it in a simple style like loose buns and ponytails, goddess braids (with no extensions) or roll and tuck styles. The roll and tuck styles are great for camouflaging the different hair textures.
Detangle and comb your hair sparingly during the week. Resist the urge to scratch your scalp and if you can’t, tap it gently with the pads of your finger rather than using your finger nails.
If you live a very active lifestyle and exercise regularly, try to avoid the workouts that make you sweat heavily on your scalp especially within the last 72 hours before you relax your hair.
By following all the tips above, your scalp and hair will all set to undergo the relaxing process and you will be on your way to healthy relaxed or texlaxed hair.
See Lade’s #BNFroFriday interview feature here.


