News
BN Do It Yourself: Double the Dosage with a Unique Corn Tassel Fixture & A Cute T-shirt Makeover
 Hello BellaNaijarians and welcome to the first edition of the ‘Trash To Treasure‘ series. Here, we will be turning things meant for disposal into valuables for both our living space and our wardrobe. Whether it’s to save money or just because you love that do-it-yourself feeling of accomplishment, we all love to make stuff.
So today, I’m going to be showing you how to make an amazing piece for your living space with a unique corn plant fixture.
What You’ll Need
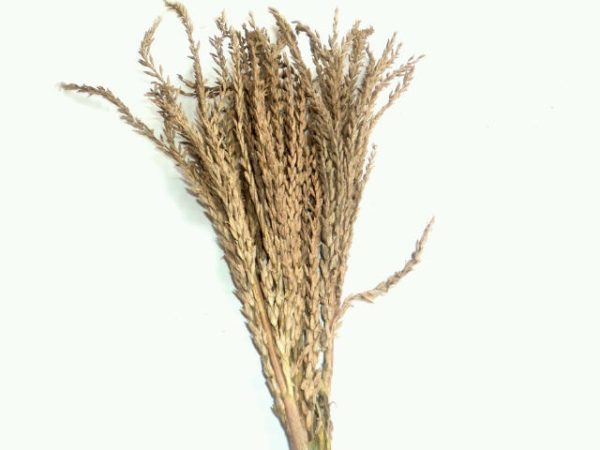
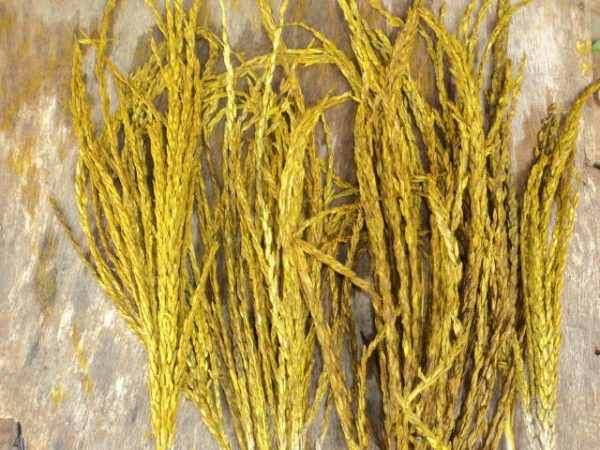
1. Corn tassels
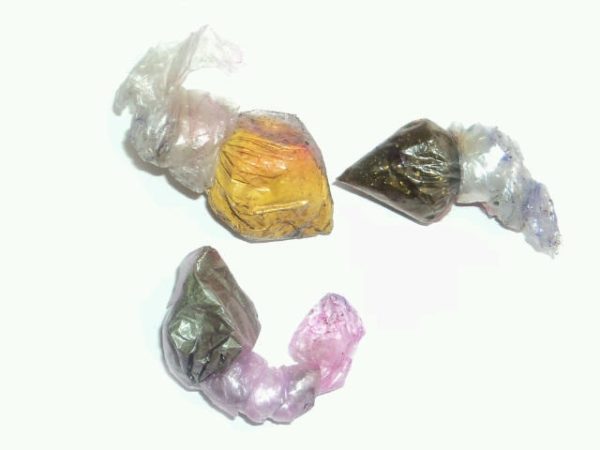
2. Dye (any colour you want; I got three colours – red, yellow and purple. They come in wraps as you’d see in the photos. Each wrap cost fifty Naira (N50) I got them from a nice Hausa lady who sells Ori, dye stuff amongst other things)
3. A medium size bucket
4. Water
5. A wooden stick
6. Peacock feathers (optional) I got each feather at a hundred and fifty Naira (N150)
What You Should Do
Step One: Mix The Dye
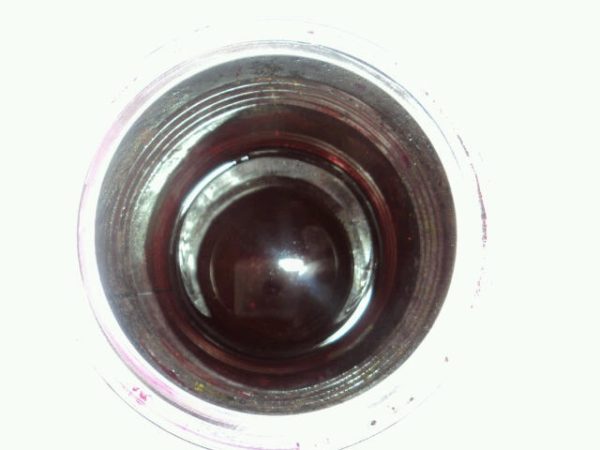
1. Empty the dye content into the bucket.
2. Add some water. Water can fill up the bucket halfway as we are going to use a dipping process. Do not worry about the dye quantity as that tiny wrap would do.
3. Stir with the stick.
*I mixed all three colours together when I was done and the colour I got was oxblood. You can also play with the colours and experiment with other colours*
Step Two: Dip The Tassels/ Dry Out
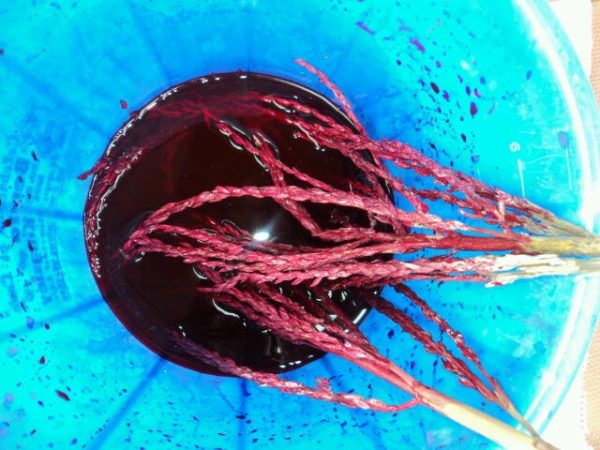
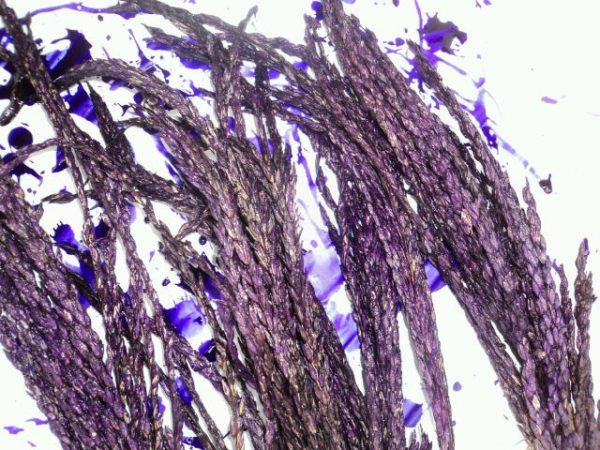
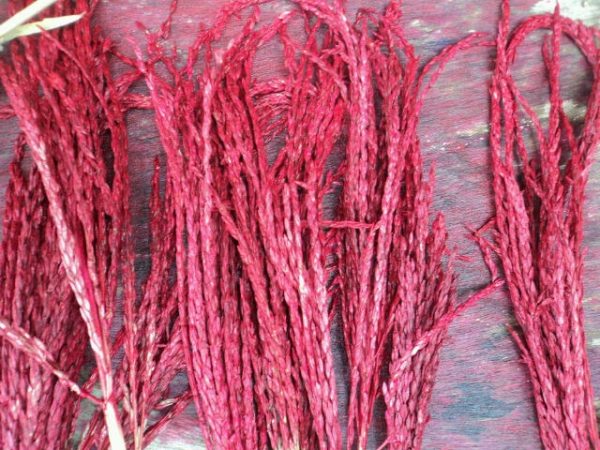
1. Dip the dry corn tassels into the dye and leave for about two minutes.
2. Remove an let it drip off.
3. Spread out on a wooden plank or thick paper and let it dry out.
4. Leave to dry in the sun for a few hours.
( Repeat this process for all the colours of dye you have on different proportions of corn tassels.)
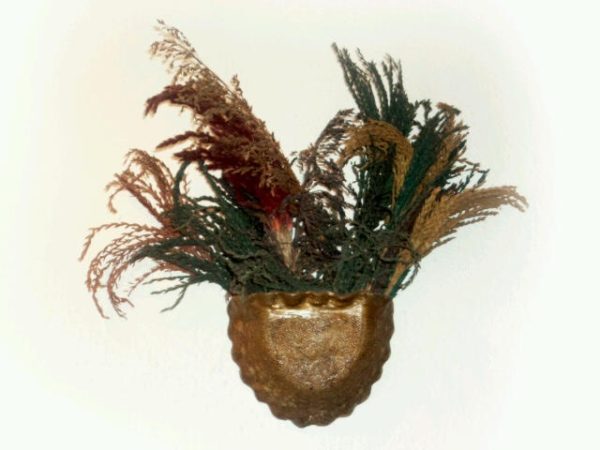
5. Get a vase, place the corns in and show it off. Here I also added peacock feathers to spice things up.
And here they are all arranged in a vase along with the peacock feathers.
Also note that, these coloured tassels can last for years. However, you can touch it up with more dye to keep the colours fresh. In the next photo, the tassels you see have been that way for more than 10 years, in my mother’s living room!
D-I-Y II: The T-shirt Makeover
What You’ll Need:
1. A T-shirt
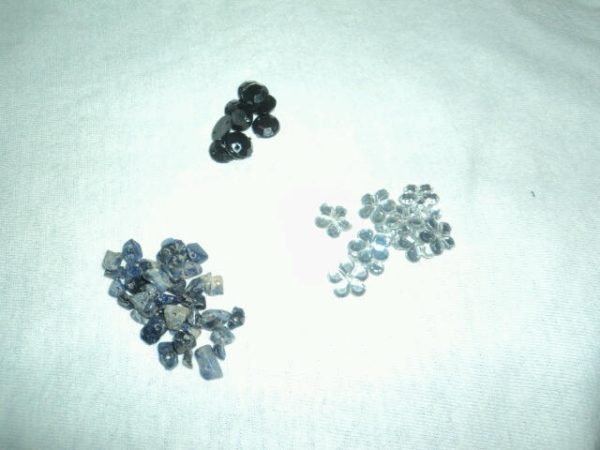
2. Embellishments (buttons, studs,beads, whatever you want really)
3. A pair of scissors
4. Needle and thread
5. Glue for your embellishments if you aren’t very needle friendly.
What You Should Do:
1. Make a cut of from the bottom upwards, and then around the neckline and downwards again in a v- shape.

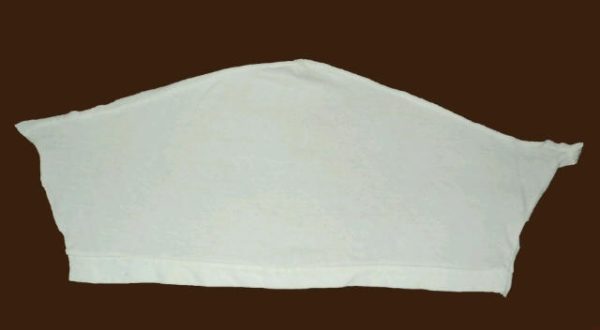
2. Cut out the sleeves, and stretch all the edges so the edges ‘roll’ to avoid fraying.
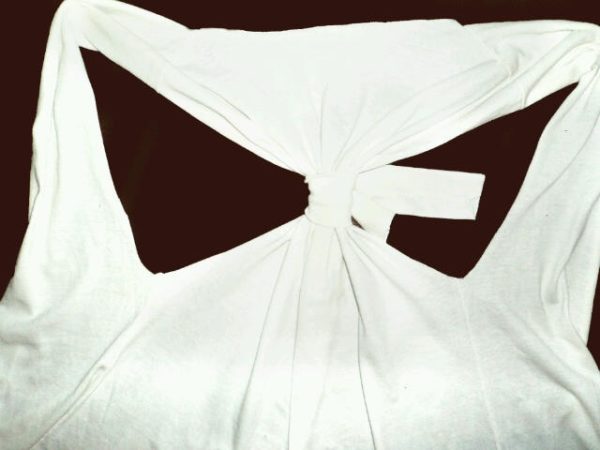
3. Make a tie out of one of the sleeves you’ve cut out, pull both sides of the armhole as shown and with your needle and thread, sew together on the inside.
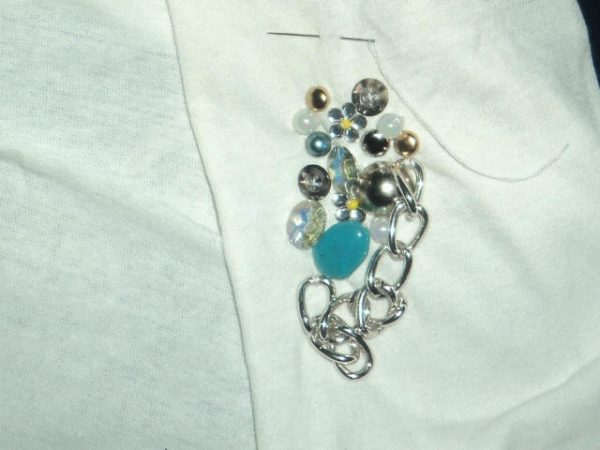
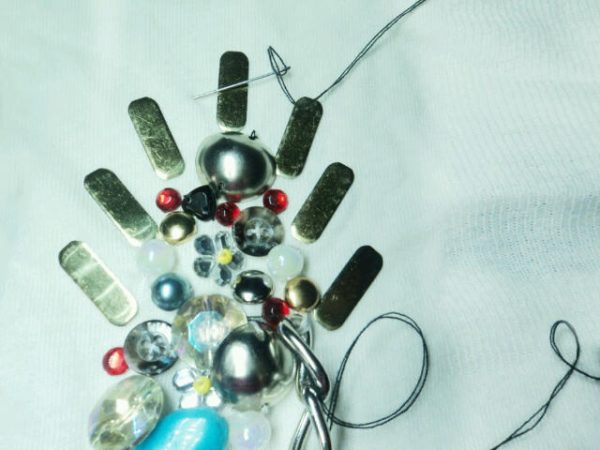
4. Add your embellishments.
That’s all folks! Don’t forget to drop your comments and share any extra tips you may have on the D-I-Y’s above.
Credits:
Tutorial: Nne Osemene
Model: Kate Umenwa
______________________________________________________________________________________
Nne ‘Onnari’ Osemene is a fashion and lifestyle DIY blogger on weeknights and weekends. She is an unpublished poet/fiction writer who studied business Administration at the University of Lagos. She is an independent fashion/accessories designer who loves designing while listening to ‘mood’ music…or otherwise! She is obsessed with Greek and Roman mythology. You can contact her via email: [email protected] or visit her blog: www.thatssewnaija.blogspot.com

