Features
Monday Manicure with Eki: 10 Steps for the Perfect DIY Manicure at Home
It’s time for another edition of Monday Manicure and today it’s all about how to get that perfect manicure in the comfort of your own home without having to spend too much at the nail salon.
Step 1: Get your tools ready
We did a post on this some time ago (see that here) but for a recap, here’s what you’ll need;
- Cotton Wool/Cotton Balls
- Non-Acetone Nail Polish Remover
- Nail Cutter & Nail File
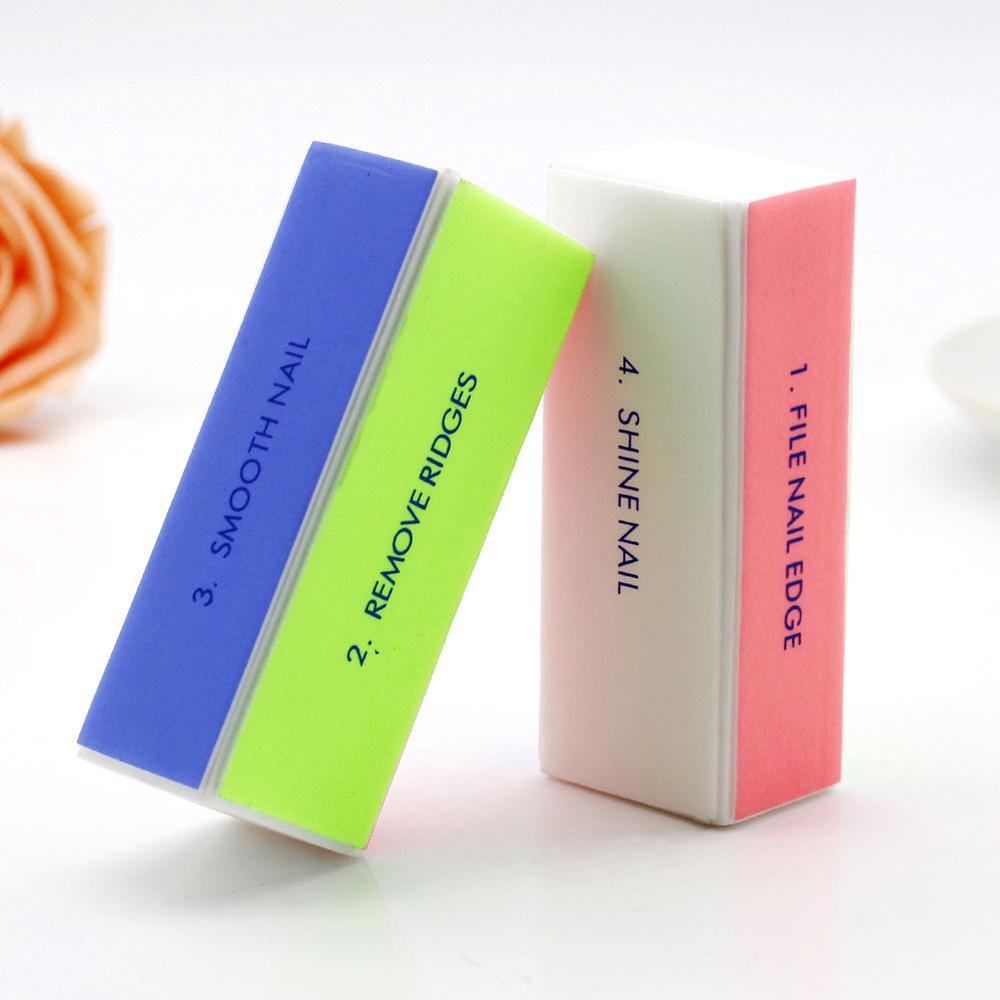
- Buffing Block
- Sugar Scrub
- Cuticle remover
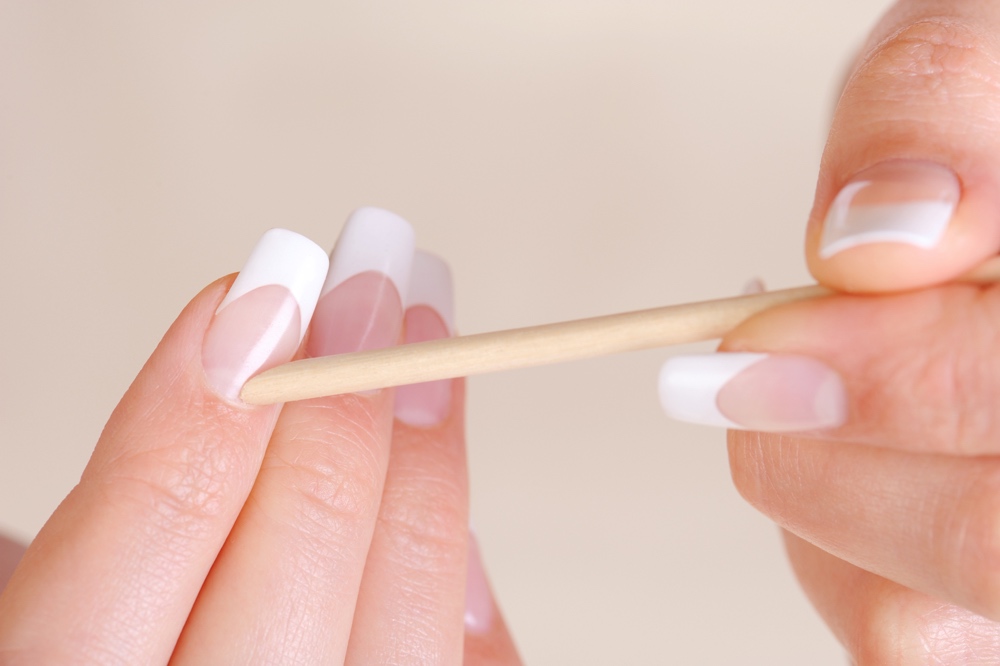
- Orangewood Stick/Orange Stick
- Cuticle Oil
- Moisturizer/Lotion
- Nail Polish
Step 2: Start with a clean base
Remove any previously applied nail polish. Swipe your nails with acetone to remove dirt and oils before polishing.
Step 3: Shape up
Shape your nails and clip them if necessary, then gently file them into shape. A slightly rounded nail shape or square-rounded edge is generally the best way to go for natural nails but you can be as creative as you want. See our post on natural nail shapes here and other creative shapes you can try here.
Step 4: Buffer time
Next, smooth the surface of your nails with a buffing block (this will also remove ugly yellow stains we all get from wearing too much dark polish!). A 4-Step nail buffer is a great bang for this since it has four sides with varying textures. Follow up with the smooth buffing side for a high shine! But if you buff the nails too smooth, the polish won’t adhere as well and can literally slip right off.
Step 5: Soak away
Now this is the relaxing part. Place your hands in a bowl of warm (not too hot) water and add a bit of your gentle face cleanser or shampoo to the water. Soaking the cuticle before trimming is crucial, but over-soaking actually damages skin and nails, so limit this step to three minutes or less.
Use a nail brush to gently clean your nails and the skin around them or your sugar scrub to remove dead skin. Gently scrape under your nails if necessary to remove dirt. If you have dry skin or fragile nails you should not soak them; just wash them.
Step 6: The Cuticles. Push back, don’t cut!
Dry your nails and apply a cuticle cream. Using a cuticle pusher, also called an orange stick, gently push back the cuticle. Do not force them back, and never cut your cuticles. removing the cuticle can cause infection and leaves the then-less-protected margin of the skin vulnerable. Wipe off the excess cream with a tissue or towel in the direction that you pushed. Now’s also the time to also remove hangnails around the sides of the nail, but again, be careful not to cut into the nail itself or to cut into the skin too deeply. Read more on the anatomy of your nails and cuticles here.
Step 7: Moisturise
Massage a rich cream or silky oil into the cuticles and all over the hands to hydrate and replenish skin. Creams/Lotions used depend on how dry your skin is but cuticle oil is very important.
After this you can decide to leave your hands free of nail polish or any treatments and just enjoy your healthy, natural nails for sometime till you feel the need to use nail polish.
Steps 8: Nail polish prep
If you’d like to continue with nails polish, note that nail polish/lacquer will not stick to nails with moisturizer on them, so take a Q-tip/cotton ball dipped in nail polish remover and quickly wipe the nails to remove the lotion from your nail beds. Wipe excess remover off promptly to mitigate nail damage.
Step 9: Get your colour on
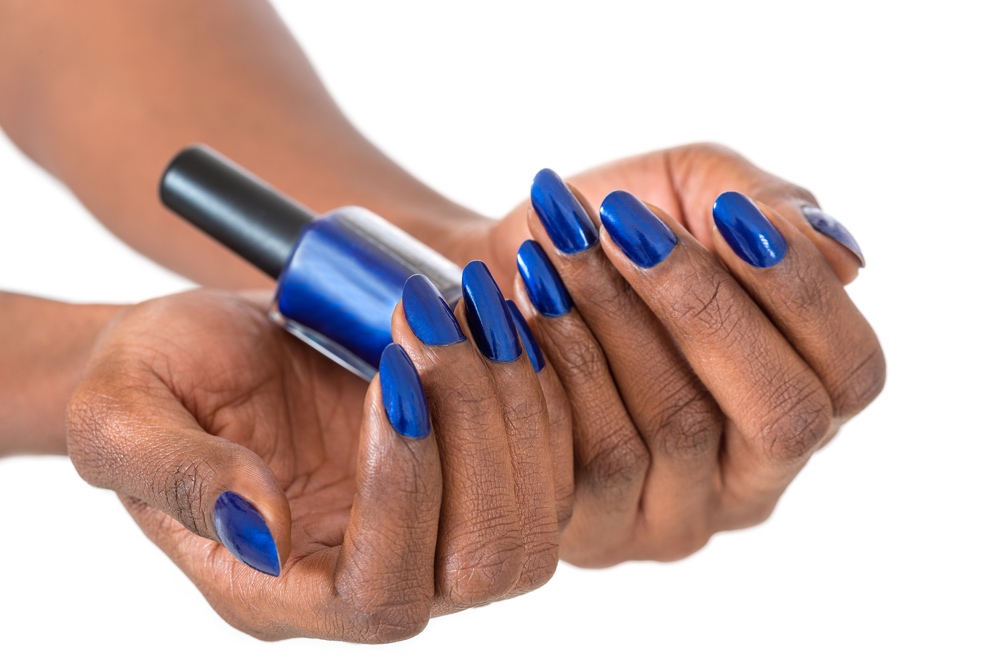
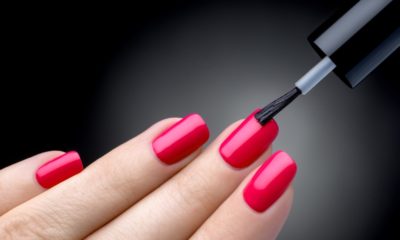
Apply your base coat (which we spoke about here), polish colour of your choice and then a good top coat (read more about it here). Depending on the thickness of your coloured nail polish, you might need one to two coats of colour.
Step 10: Watch and wait
While you’re doing this whole DIY manicure, you should have something (a movie or YouTube videos) playing to keep you occupied because once you’re done with the polish step, you’ll have to sit and wait for it to dry… Unless you’re using an amazing fast drying top coat.
Photo Credits: Dreamstime

