Style
BN Beauty: Don’t Just Wing It – All You Need to Know About Creating a Cut Crease Eyeshadow Look!
MsRoshPosh
If you spend time on social media, chances are you’ve seen this look more than once.
Beauty bloggers, vloggers, expert makeup artists and all those who love the art of makeup hold this eyeshadow trick dear. And we are going to show you the key steps in figuring out how you can rock this look too!
It’s pretty easy and doesn’t take a lot of effort. Here’s what you need;
– A base/eyeshadow primer
– A gel liner
– An angled brush
– A blending brush
– Desired eyeshadow colours
How To
Creating the cut crease is easier that you may think. Here’s a blow by blow;
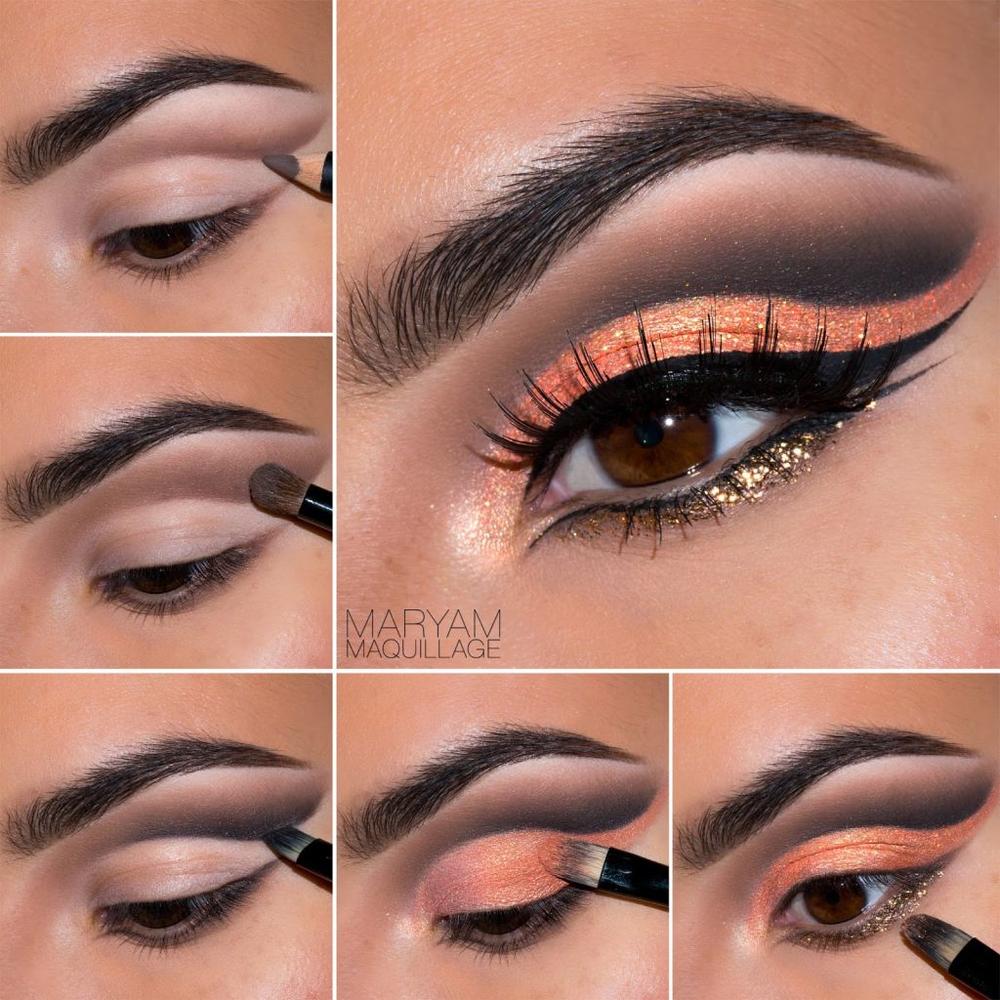
– After applying your primer/base, use the angled brush to create a thin curved line above your natural eye crease. Be sure to start off thin, then you can build it up as you go along.
– Use the angled brush to blend the gel upwards in gradual strokes. After you initially do this, you can start building the line to make it as dark as you want.
– After this, go back in with an eyeshadow of the same color to give it more depth.
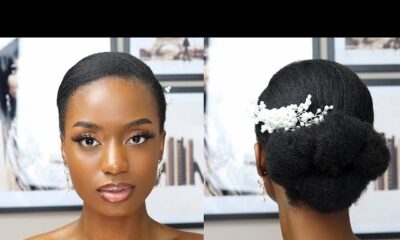
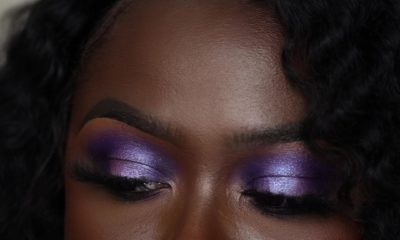
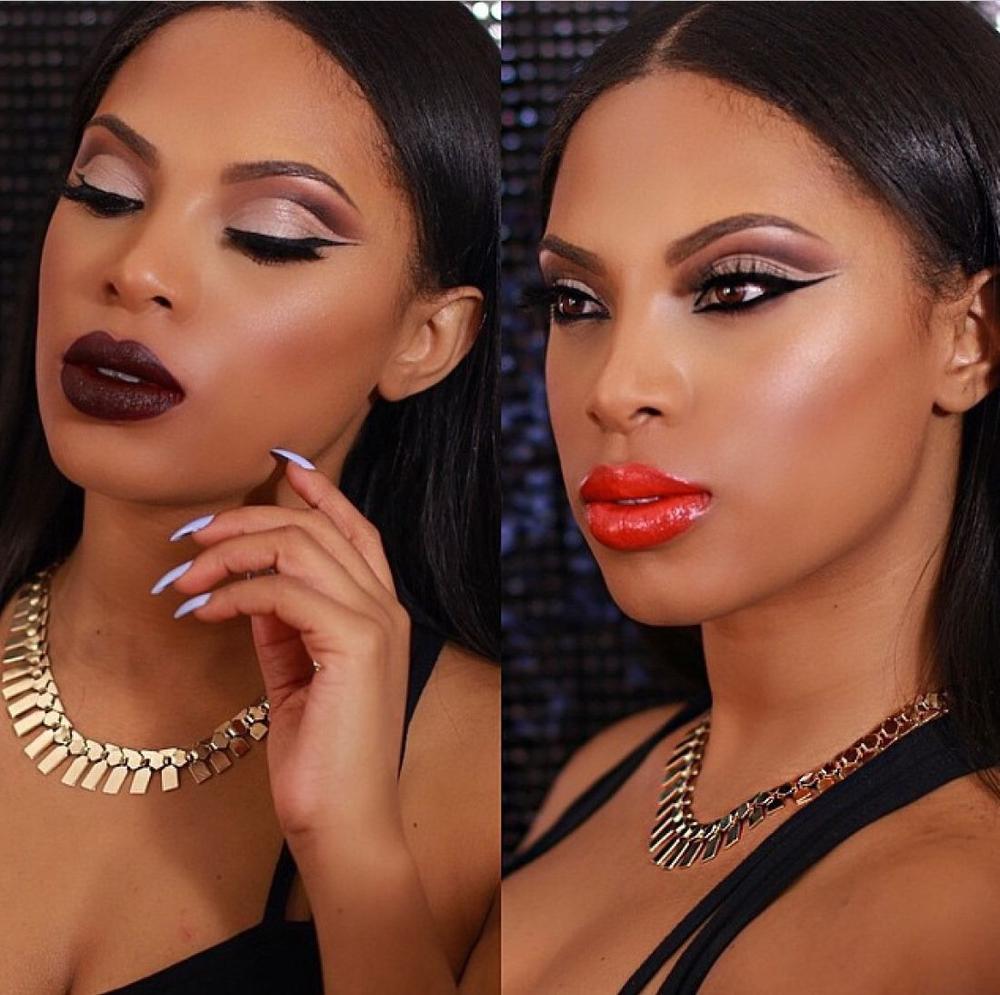
– By this time, your actual eyelid is bare (without colour). You can then apply the eyeshadow colour of your choice. We would suggest a light or bright shade to add some contrast to your cut crease eyeshadow look.
– This look always works best with a dramatic winged eyeliner. Use a gel liner or a liquid liner to create a dramatic lined eye, extending the liner to the end of your cut crease.
– After this you can complete your eyeshadow process and the rest of your makeup look!
Just in case you’d rather watch the cut crease process, here’s MsRoshPosh creating a stunning cut crease look below;
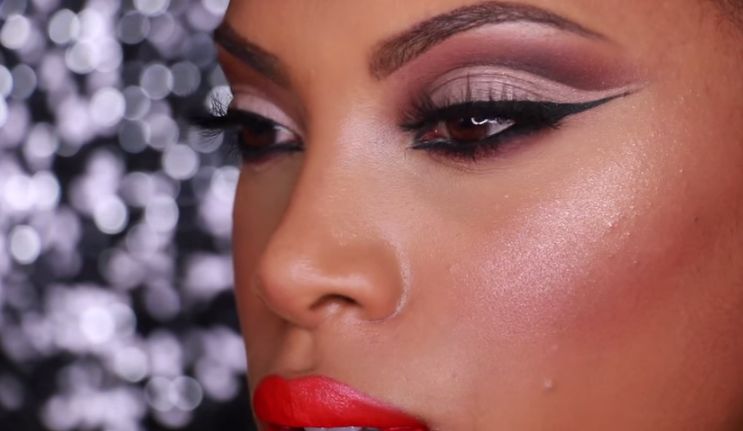
Watch!
Photo Credit: @MsRoshPosh | WeddingDigestNaija.com | MaryamMaquillage.com