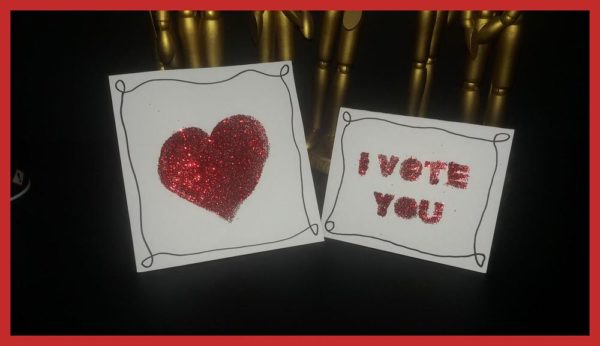
Sweet Spot
BN Do-It-Yourself: Personal & Heartfelt! Tinuke Odunfa Shares Steps on How to Make Your Own Valentines Card
Valentine’s is around the corner and you are ready to share love and gifts with family and friends. This is a quick and easy DIY (do-it-yourself) tutorial to make fun greeting cards for the occasion.
In six easy steps you can have your own fun, personalized greeting cards that say what ever you want them to say. And you won’t have to spend too much to make up to 10 cards if you want.
Items you will need:
1. White cardboard paper
2. Colored glitter (I used red)
3. Craft glue (you can try ‘top bond’)
4. A pencil
5. A bold black marker
6. A box-cutter
7. A steel ruler
8. A right angled triangle
9. A paint brush
Steps to follow:
1. Measure 6 inches by 4 inches along the edges of your cardboard paper
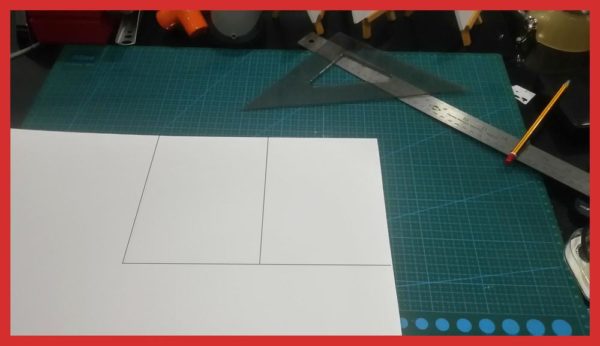
2. Use your triangle to draw out the measurement with straight lines.
3. Lay your steel ruler right on the lines and cut straight lines with the box-cutter. At this point you should have a 6” by 4” rectangle
4. Fold across the longer part of the rectangle.
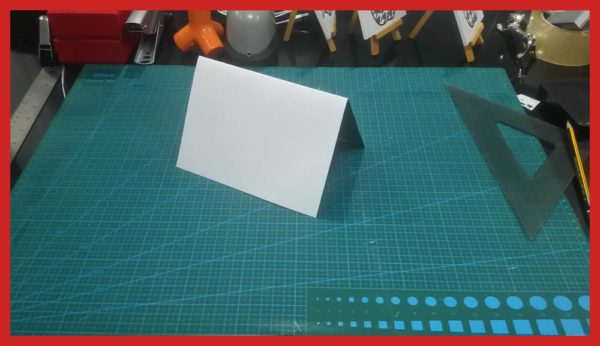
5. Draw a squiggly border along the edges of the front of the card. It doesn’t have to be perfect. The more imperfect it is, the better.
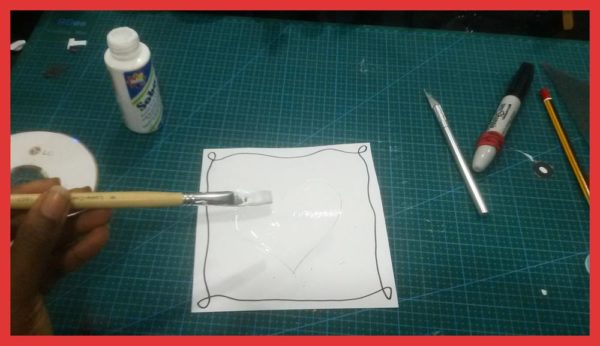
6. Draw your shape (try a heart) with your pencil.
7. Get your paintbrush. Dip the paintbrush in the glue and draw along the lines with the glue brush. Make sure to cover the pencil lines.
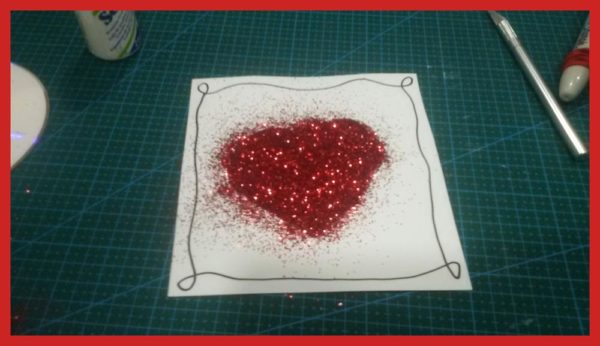
8. Pour glitter very generously all over the glue on the face of your card.
9. Pick up your card and allow the excess glitter to fall right off.
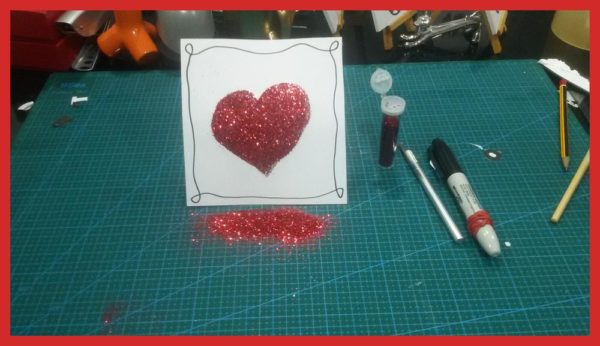
PS. Don’t throw away excess glue. Return it to its container.
10. Address the inside of the card as you wish.
